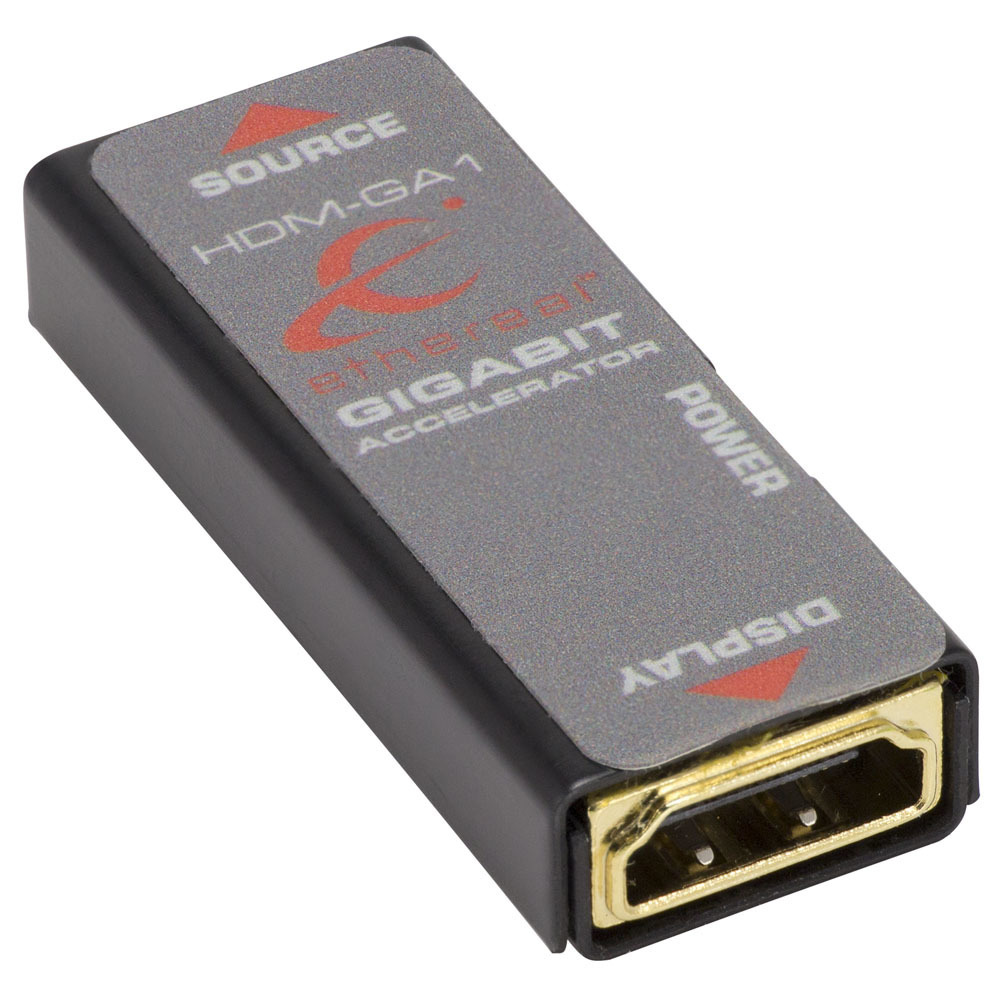
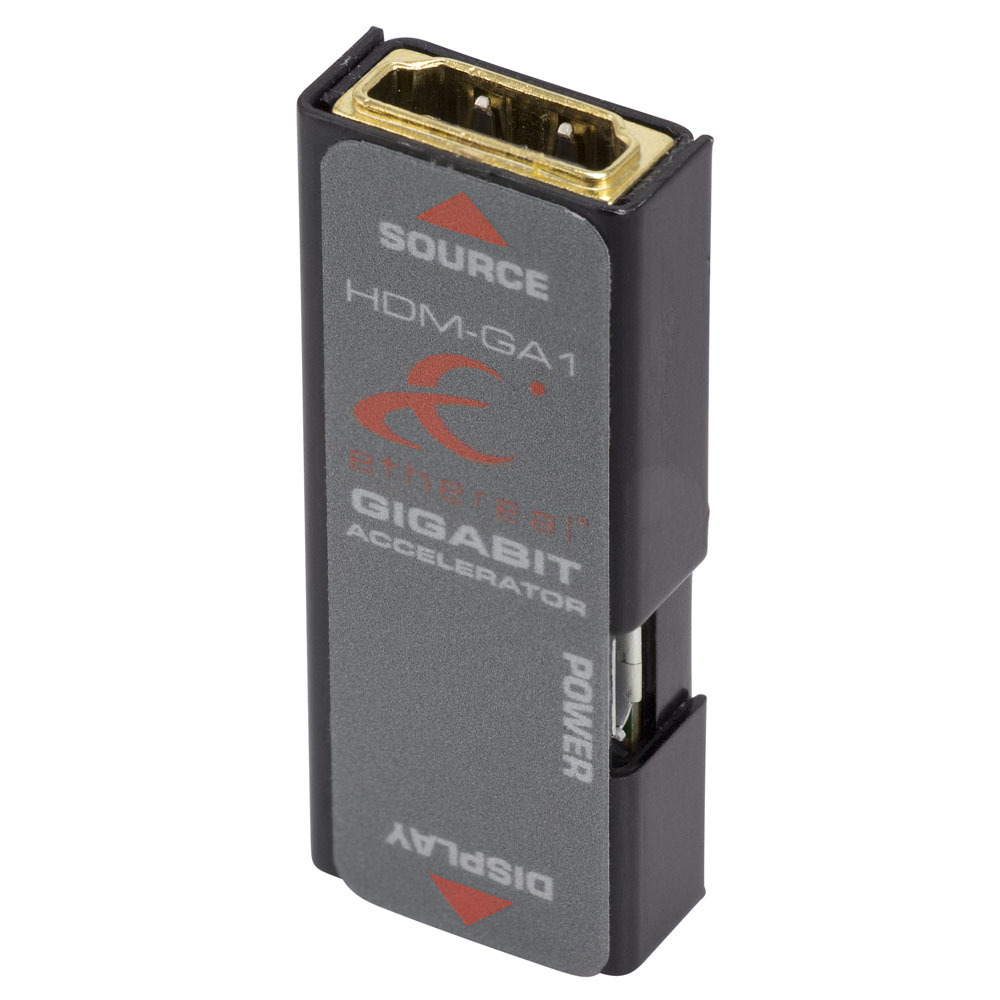
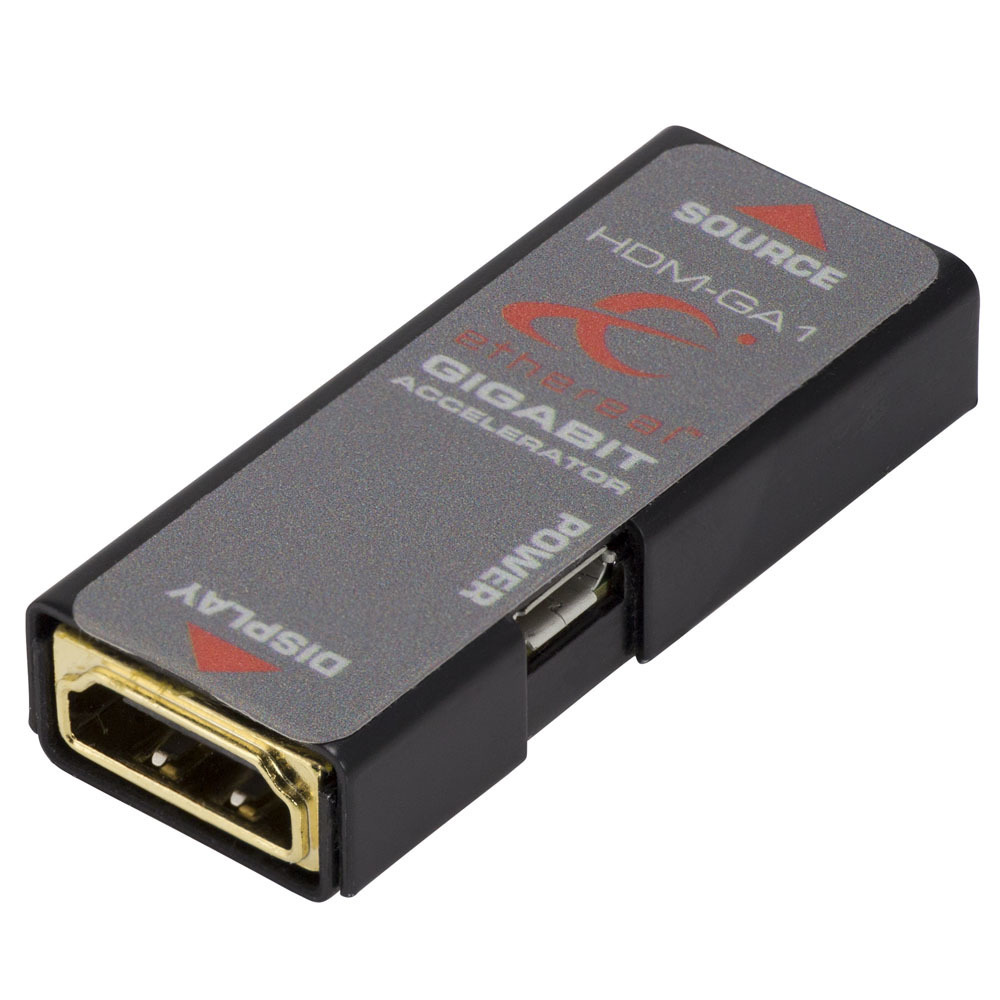
Are you a Dealer? Apply Here
Hover Over an Option
To get a detailed description of each category and it's available options, to help you make the correct selection.
LED Lights
Light any boat’s deck or interior with our selection of high-performance, marine-grade LED light bars, deck lights, flood lights, accent lighting, controllers, LED tracks and more.
Audio & Video
Install or upgrade an audio or home theater system with our marine-grade RCA audio cables, amp installation kits, power wire, RGB can speakers, micro-amplifiers, radio housing, Bluetooth® receivers, antennas and more.
HDMI Cables & Electronics
High-quality connection is everything! See our marine TV mounts, award-winning HDMI cables, extenders, splitters, switches and solutions designed for high-definition or 4K/HDR systems.
Connectors & Cables Accessories
Connectors, heat shrink tubing, terminals, split braid sleeving, cable ties, sealants, adhesives and other connection accessories for your install bay.
Electrical Components
See our selection of marine electrical components, including batteries, relays, fuse panels, circuit breakers and more. Designed with the installer in mind!
Marine Hardware
Complete your order with the essential supplies for marine installations. See our adhesives, stainless steel screws and socket heads.
< Back HDM-GA1
  • 18 Gigabit accelerator for passive HDMI&reg; cables
  • Works with cables up to 15 meters
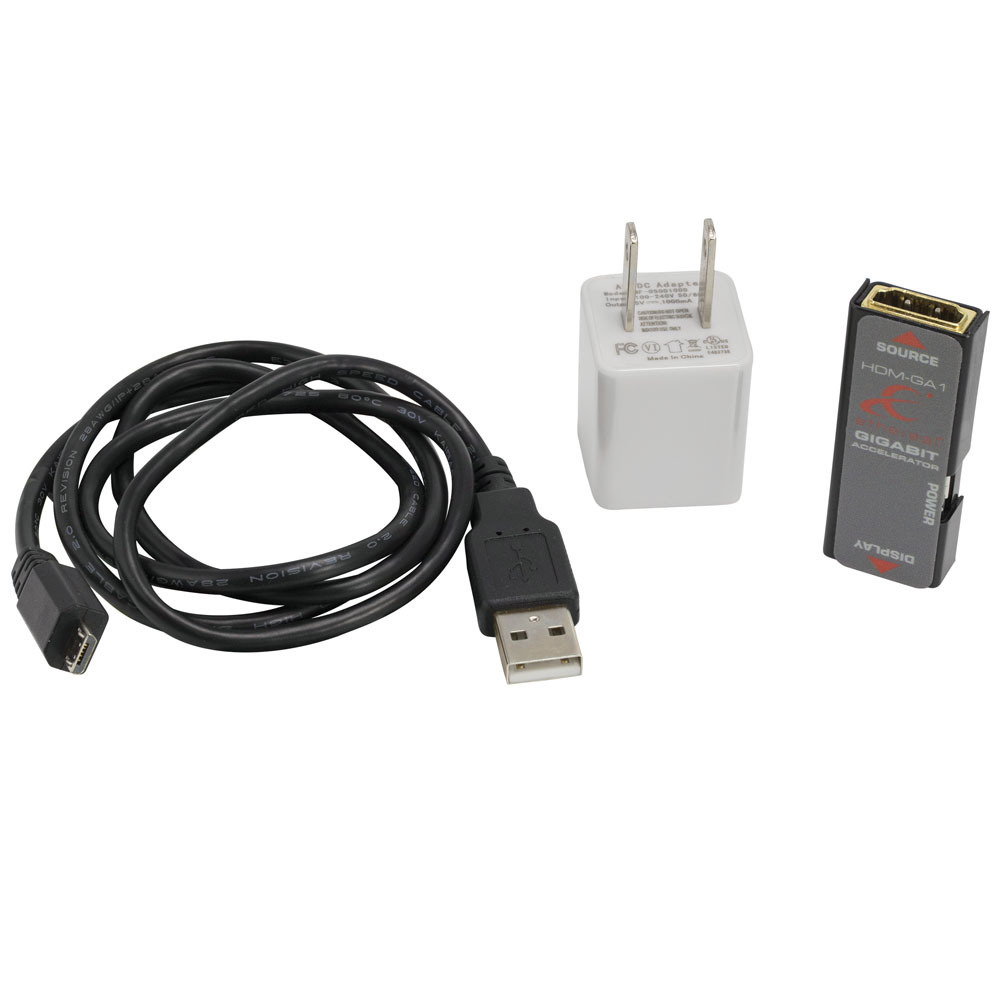
  • Powered by USB
  • Small, easy to install

Installation of the HDM-GA1

The HDM-GA1 is designed to be used with passive 24 gauge HDMI&reg; cables at a distance of up to 15 meters and is intended to be installed at the display side of the system.

  1. Install (or find existing) passive 24 gauge HDMI&reg; cable
  2. Connect the input terminal of the HDM-GA1 to the display side of the passive HDMI&reg; cable
  3. Connect the output terminal of the HDM-GA1 to the input of the display with a passive HDMI&reg; cable 2 meters or less in length
  4. Connect supplied USB cable between the HDM-GA1 and a USB power supply (included USB)
  5. Turn on display and select correct HDMI&reg; input. Voila…you are finished

Award-Winning Technology

Not available